Call Us: +91-7410524141

MITUTOYO-SERIES 1 – COMPACT TYPE, SMALL DIAMETER-DIAL INDICATORS
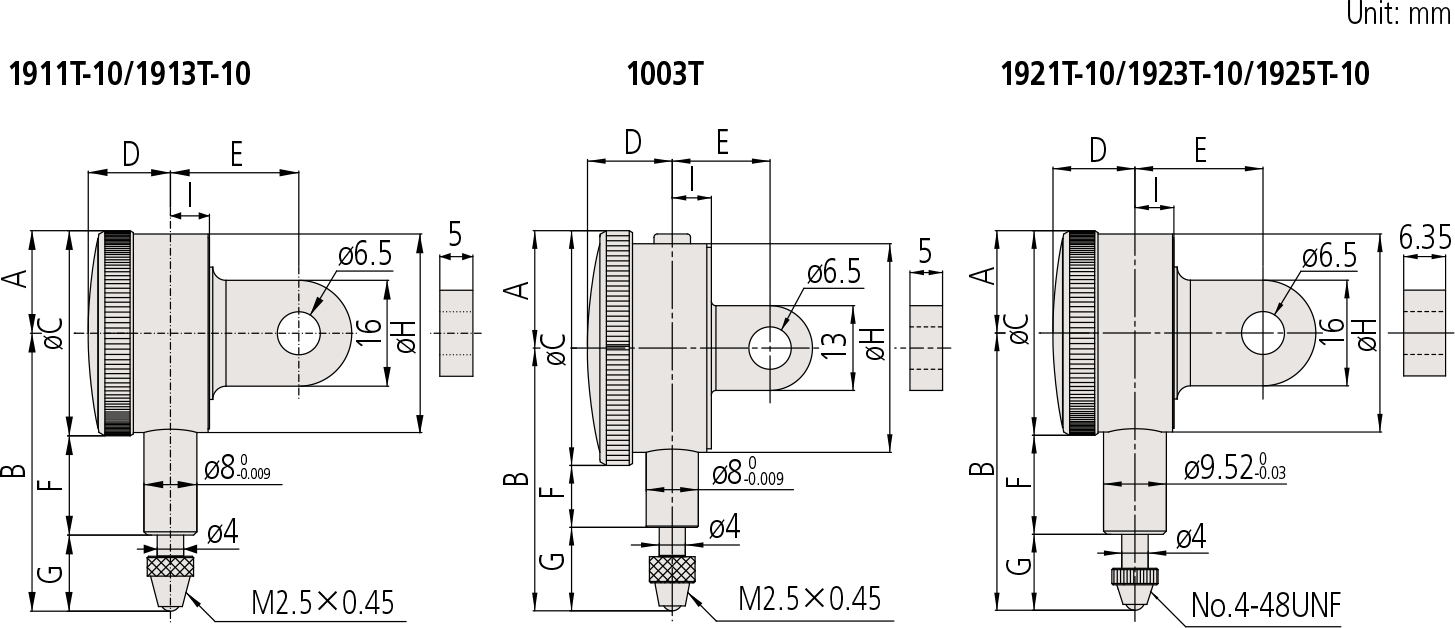
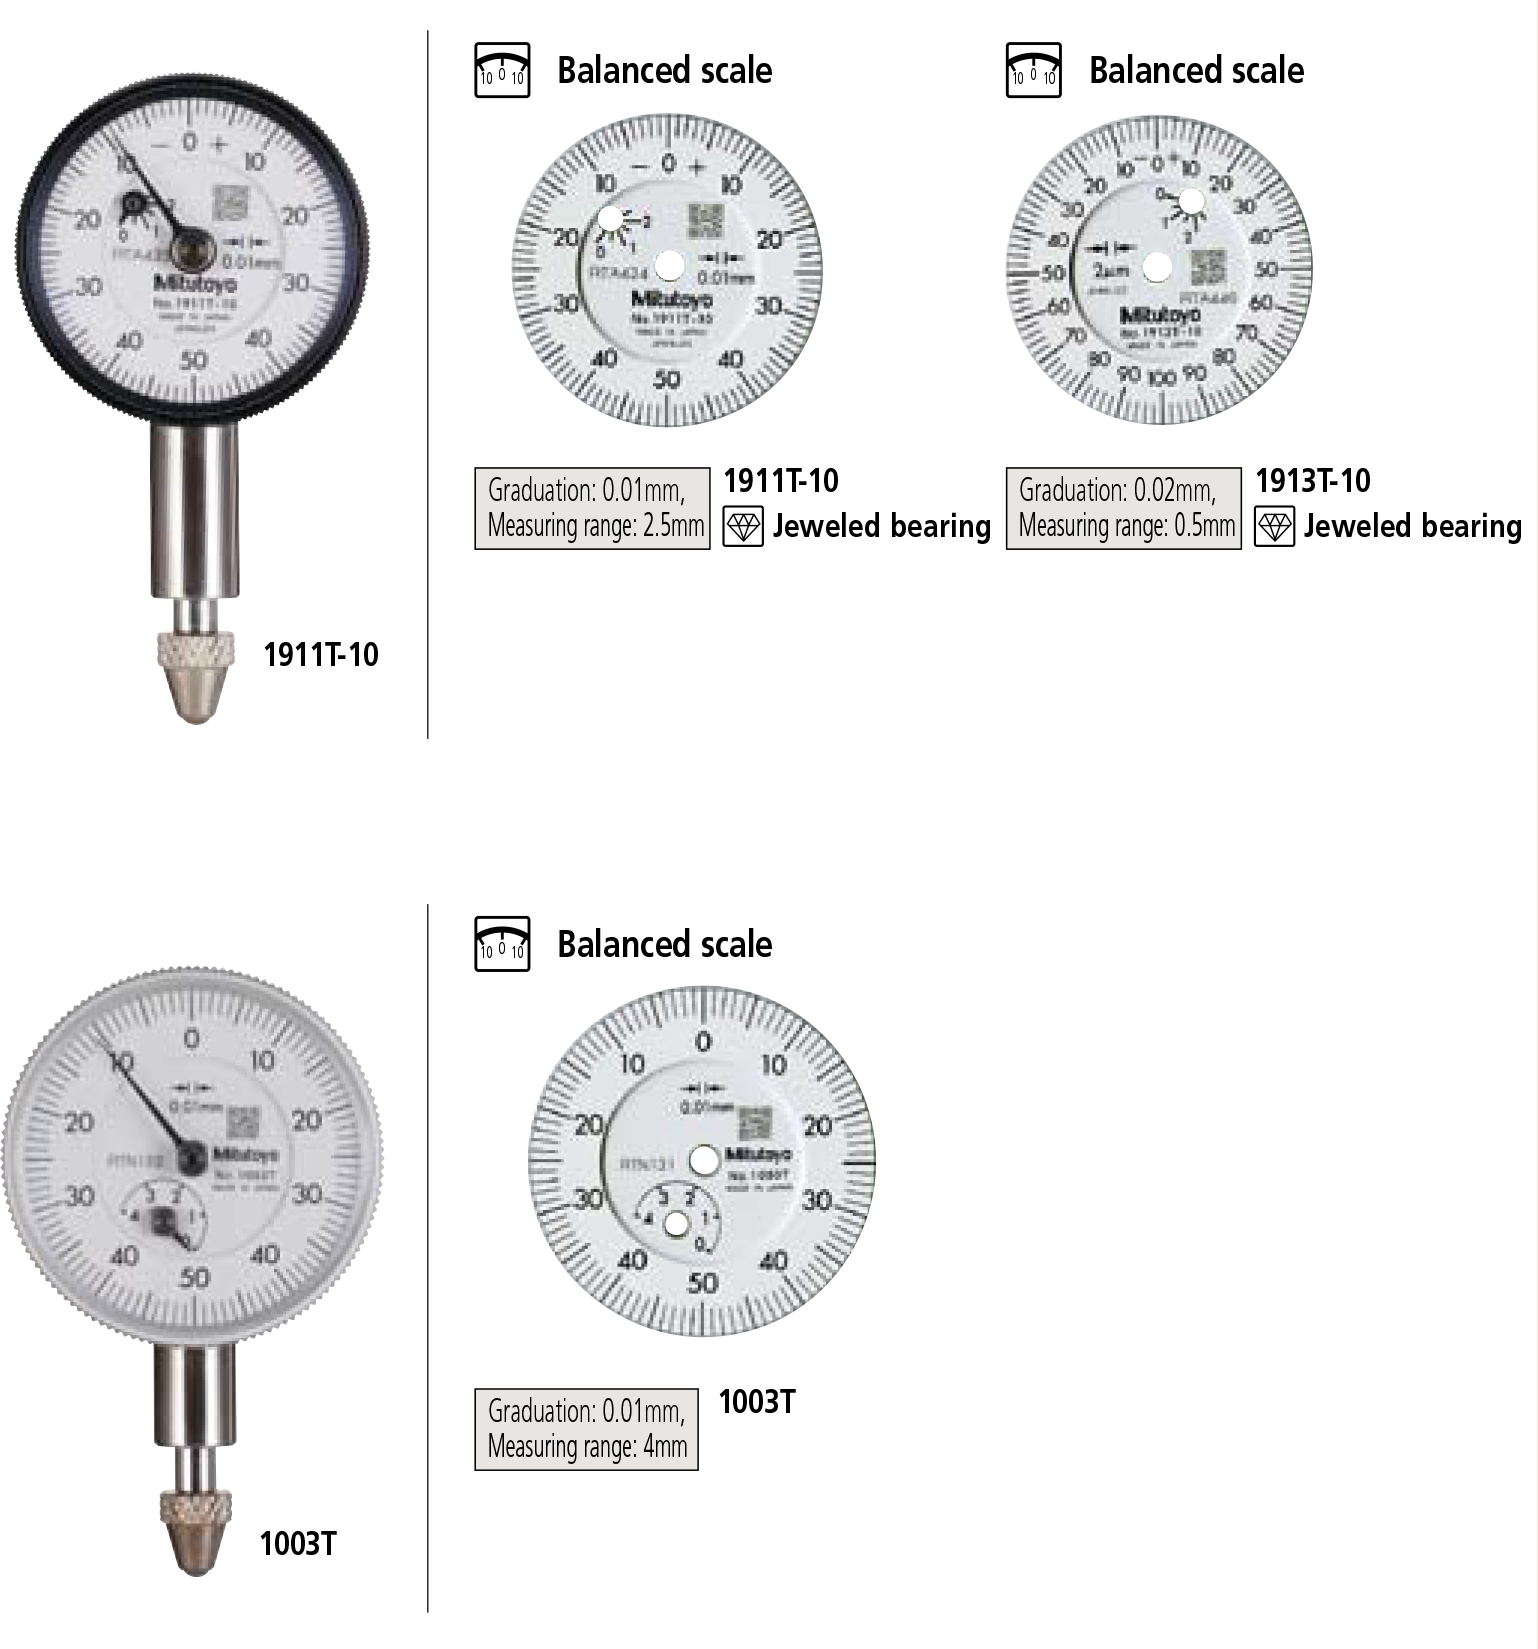
Compact dial indicators with bezel diameters of ø31 or ø36mm for restricted-space applications in gaging jigs. DIMENSIONS Order No. A B C D E F G H I 1911T-10 15.5 42 31 12.9 19.2 15 11.5 30 5.9 1913T-10 15.5 39.5 31 12.9 19.2 15 9 30 5.9 1003T 18 40.3 36 13 15 9.5SPECIFICATIONS
Metric
| Order No. | Graduation | Range (range/rev) | Accuracy | Repeat- ability | Dial reading | Measuring force | ||||
|---|---|---|---|---|---|---|---|---|---|---|
| w/ lug | Flat-back | Overall | Retrace | 1/10 Rev | 1 Rev | |||||
| 1911T-10 | 1911TB-10 | 0.01mm | 2.5mm (1mm) | 12µm | 4µm | 8µm | 10µm | 3µm | 0-50-0 | 1.8N or less |
| 1913T-10 | 1913TB-10 | 0.002mm | 0.5mm (0.2mm) | 6µm | 2.5µm | 2.5µm | 5µm | 1µm | 0-100-0 | 1.8N or less |
| 1003T | 1003TB | 0.01mm | 4mm (1mm) | 13µm | 4µm | 8µm | 11µm | 3µm | 0-50-0 | 1.4N or less |
* Completed products inspection is performed in the vertical position (contact point downward) and the stated accuracy is guaranteed.
Inch
| Order No. | Graduation | Range (range/rev) | Accuracy | Repeat- ability | Dial reading | Measuring force | ||
|---|---|---|---|---|---|---|---|---|
| w/ lug | Flat-back | First 1 Rev / 2.5 Rev / 10 Rev | Retrace | |||||
| 1921T-10 | 1921TB-10 | .001” | .1” (.04”) | ±.001” / ±.001” / — | .0002” | ±.0002” | 0-20-0 | 1.8N or less |
| 1923T-10 | 1923TB-10 | .0005” | .05” (.02”) | ±.0005” / ±.005” / — | .00016” | ±.0001” | 0-10-0 | 1.8N or less |
| 1925T-10 | 1925TB-10 | .0001” | .025” (.01”) | ±.0002” / ±.0002” / — | .0001” | ±.00003” | 0-5-0 | 1.8N or less |
* Completed products inspection is performed in the vertical position (contact point downward) and the stated accuracy is guaranteed.
DIMENSIONS
| Order No. | A | B | C | D | E | F | G | H | I |
|---|---|---|---|---|---|---|---|---|---|
| 1911T-10 | 15.5 | 42 | 31 | 12.9 | 19.2 | 15 | 11.5 | 30 | 5.9 |
| 1913T-10 | 15.5 | 39.5 | 31 | 12.9 | 19.2 | 15 | 9 | 30 | 5.9 |
| 1003T | 18 | 40.3 | 36 | 13 | 15 | 9.5 | 12.8 | 32 | 6 |
| 1921T-10 | 15.5 | 40 | 31 | 12.9 | 19.2 | 15 | 9.5 | 30 | 6.8 |
| 1923T-10 | 15.5 | 38.3 | 31 | 12.9 | 19.2 | 15 | 7.8 | 30 | 6.8 |
| 1925T-10 | 15.5 | 37.5 | 31 | 12.9 | 19.2 | 15 | 7 | 30 | 6.8 |
Notes
1) Limit hands, bezel clamps and lifting levers cannot be installed.
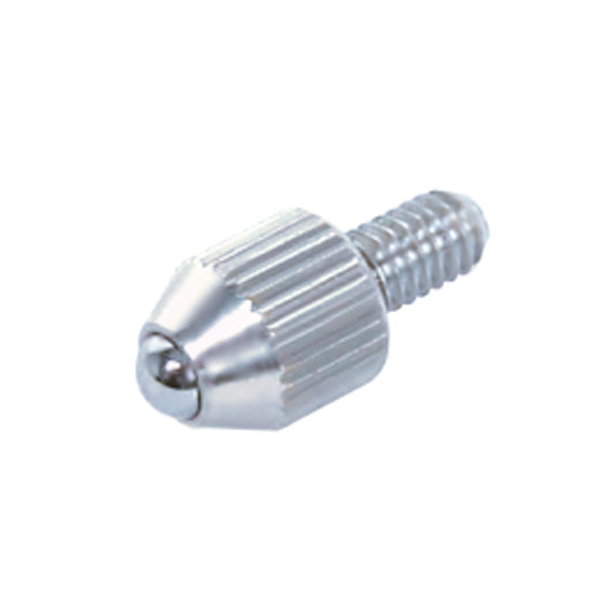
2) The shoulder on a contact point (standard accessory) acts as a stop to prevent spindle overrun that may otherwise damage the indicator. For this reason, if you need to install an optional contact point with an outside diameter smaller than 7mm, use a washer (with outside diameter of at least 7mm, inside diameter of 3mm, and thickness of approx. 0.5mm) placed between the contact point and the spindle.
- Compact dial indicators with bezel diameters of ø31 or ø36mm for restricted-space applications in gaging jigs.

