Call Us: +91-7410524141

MITUTOYO-SERIES 157-OPTICAL PARALLELS
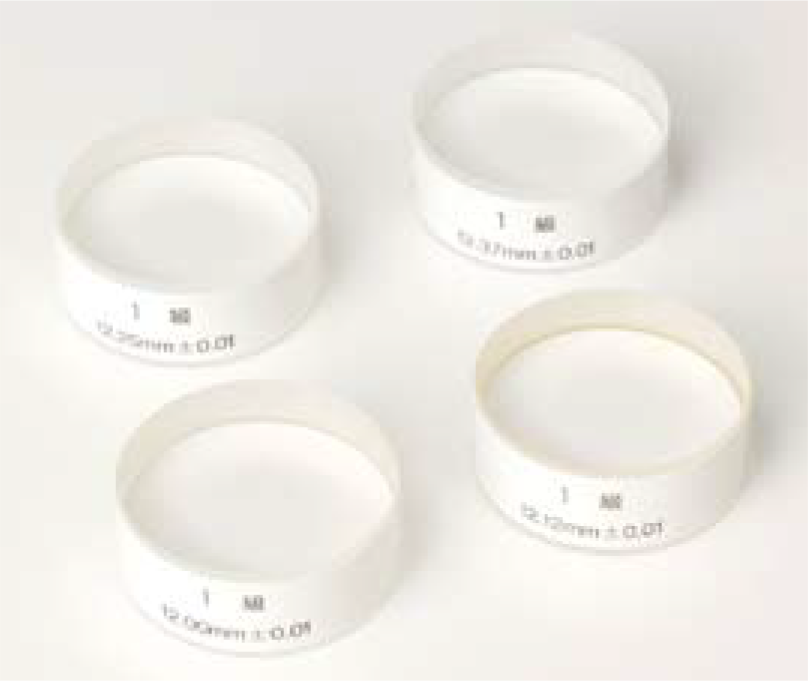
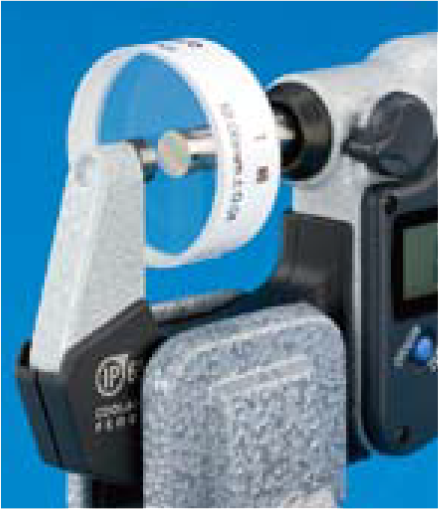
Designed to inspect parallelism and flatness of measuring faces of micrometers. For details, refer to “Quick Guide to Precision Measuring Instruments”. Each set consists of 4 sizes to aid in testing parallelism at various angular positions of the micrometer spindle. SPECIFICATIONS Metric Order No. Range of micrometer to be checked Sizes of parallels included in set Diameter Flatness- Designed to inspect parallelism and flatness of measuring faces of micrometers. For details, refer to “Quick Guide to Precision Measuring Instruments”.
- Each set consists of 4 sizes to aid in testing parallelism at various angular positions of the micrometer spindle.
SPECIFICATIONS
Metric
| Order No. | Range of micrometer to be checked | Sizes of parallels included in set | Diameter | Flatness | Parallelism | Remarks |
|---|---|---|---|---|---|---|
| 157-903 | 0 – 25mm | 12.00, 12.12, 12.25, 12.37mm | 030 | 0.1µm | 0.2µm | For 25mm |
| 157-904 | 25 – 50mm | 25.00, 25.12, 25.25, 13.37mm | For 50mm |
Inch
| Order No. | Range of micrometer to be checked | Sizes of parallels included in set | Diameter | Flatness | Parallelism | Remarks |
| 157-901 | 0 – 1″ | .5000″,.5062″, .5125″, .5187″ | 030 | 0.1µm | 0.2µm | For 25mm |
| 157-902 | 1 – 2″ | 1.0000″, 1.0062″, 1.0125″, 1.0187″ | For 50mm |
SERIES 158 Optical Flats
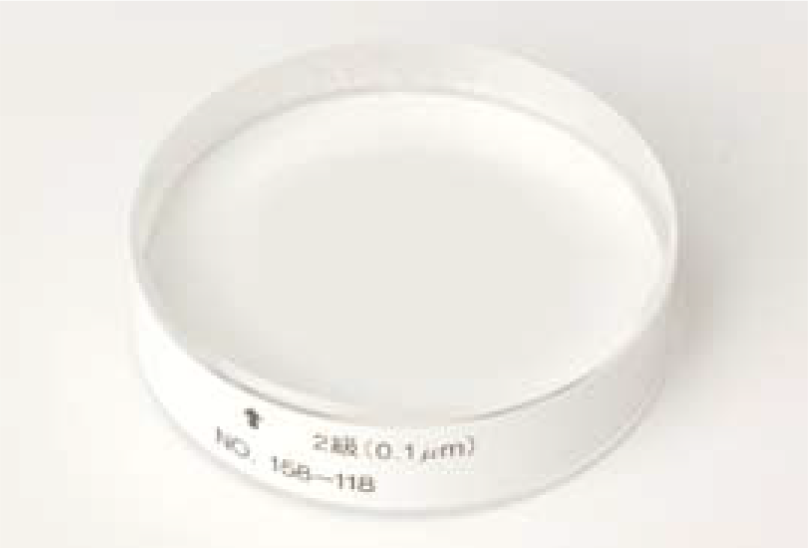
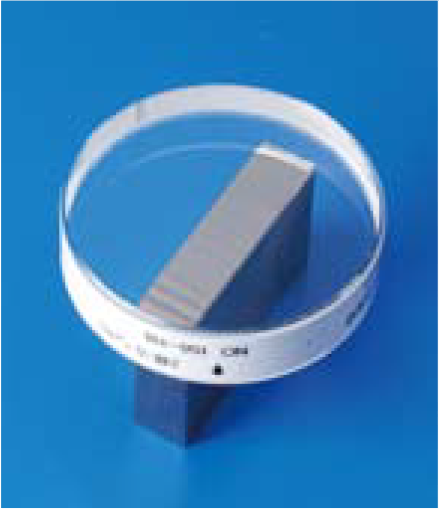
- Used for inspecting the flatness of very flat surfaces. For details, refer to “Quick Guide to Precision Measuring Instruments”.
SPECIFICATIONS
Metric
| Order No. | Thickness | Diameter | Flatness grade |
|---|---|---|---|
| 158-117 | 12mm | 045 | 0.2µm |
| 158-118 | 045 | 0.1µm | |
| 158-119 | 15mm | 060 | 0.2µm |
| 158-120 | 060 | 0.1µm |
Inch
| Order No. | Thickness | Diameter | Flatness grade |
| 158-122 | .5″ | 1.8″ | .000004″ |
| 158-124 | .6″ | 2.4″ |

