Call Us: +91-7410524141


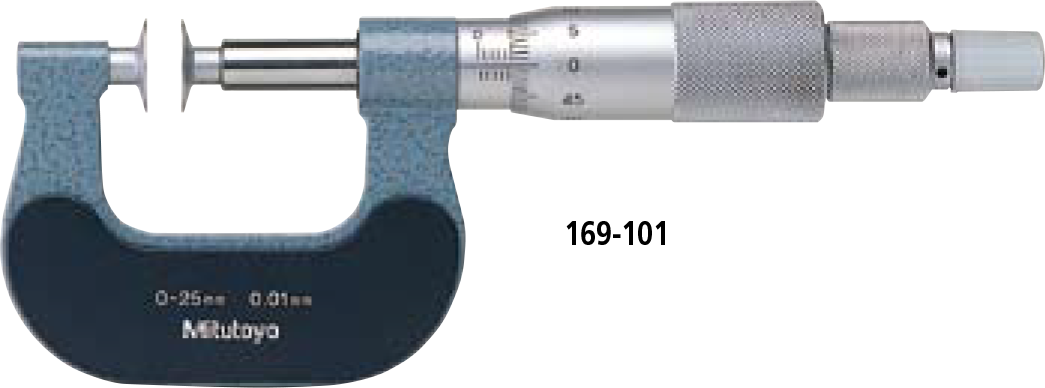
MITUTOYO SERIES 323 DISC MICROMETER
- Measures “root tangent length” of spur gears and helical gears.
- Determination of the root tangent length: refer to “Quick Guide to Precision Measuring Instruments”.
- Equipped with Ratchet Stop for constant measuring force.
Metric
| Code No. | Range (mm) | Resolution (mm) | Maximum permissible error JMPE (μm) | Flatness (μm) | Parallelism (μm) | Anvil dia. (mm) | Measurable module |
|---|---|---|---|---|---|---|---|
| With SPC data output | |||||||
| 323-250-30 | 0 – 25 | 0.001 | ±4 | 1 | 4 | Ø20 | 0.5 – 6 |
| 323-251-30 | 25 – 50 | ||||||
| 323-252-30 | 50 – 75 | ±6 | 6 | ||||
| 323-253-30 | 75 – 100 | ||||||
Inch/Metric
| Code No. | Range (in) | Resolution (mm) | Maximum permissible error JMPE (in) | Flatness (in) | Parallelism (in) | Anvil dia. (in) | Measurable module |
|---|---|---|---|---|---|---|---|
| With SPC data output | |||||||
| 323-350-30 | 0 – 1 | 0.00005 in/ 0.001 mm | ±0.0002 | 0.00004 | 0.0002 | Ø7.787 | 0.5 – 6 |
| 323-351-30 | 1 – 2 | ||||||
| 323-352-30 | 2 – 3 | ±0.0003 | 0.0003 | ||||
| 323-353-30 | 3 – 4 | ||||||
- Power source: SR44 battery (1 pc.), 938882 included as standard (for operational checks)
- Battery life: Approx. 2.4 years under normal use
- Position detection method: Electromagnetic rotary sensor
- Standard accessories: Setting standard, 1 pc. (except tor measuring range 0 to 25mm (0 to 1 in) models), Spanner 301336), 1 pc.
Note 1: Root tangent length measurement is not available for some types of gears.
Note 2: For functional details, refer to page 02-7.
Optional connection cable is available only for water-proof type (Digimatic model).
- Measures “root tangent length” of spur gears and helical gears.
- Determination of the root tangent length: refer to “Quick Guide to Precision Measuring
Instruments”. - Equipped with Ratchet Stop for constant measuring force.


