Call Us: +91-7410524141

MITUTOYO-SERIES 523-SNAP METERS
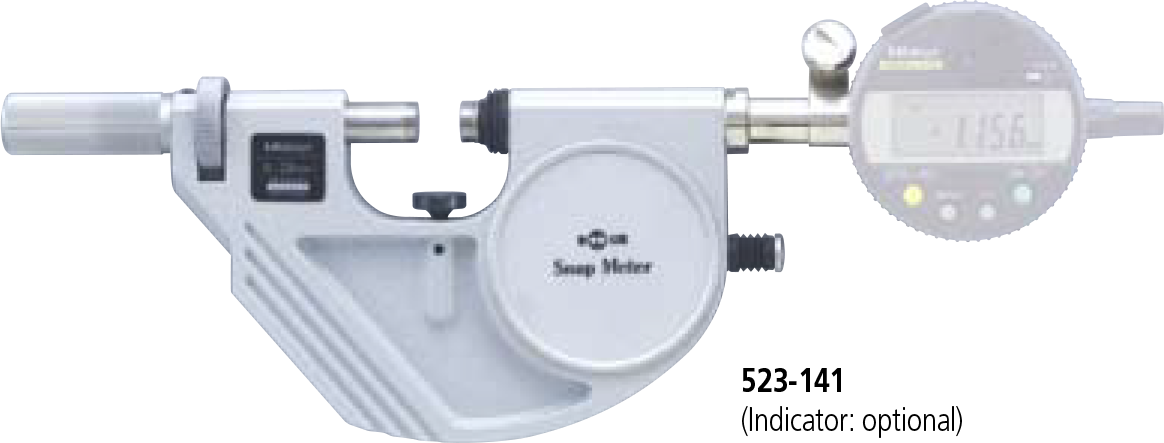
Suited to the measurement of massproduced parts. Various types of indicator can be selected according to the measurement application. Measuring faces: Carbide SPECIFICATIONS Metric Order No. Range Anvil movement Measuring force* Mass 523-141 0 – 25mm 2mm 5 – 10N 710g 523-142 25 – 50mm 810g 523-143 50 – 75mm 920g 523-144 75 – 100mm 1050gSPECIFICATIONS
Metric
| Order No. | Range | Anvil movement | Measuring force* | Mass |
|---|---|---|---|---|
| 523-141 | 0 – 25mm |
2mm |
5 – 10N |
710g |
| 523-142 | 25 – 50mm | 810g | ||
| 523-143 | 50 – 75mm | 920g | ||
| 523-144 | 75 – 100mm | 1050g |
Inch
| Order No. | Range | Anvil movement | Measuring force* | Mass |
|---|---|---|---|---|
| 523-151 | 0 – 1″ |
.078″ |
5 – 10N |
710g |
| 523-152 | 1″ – 2″ | 810g | ||
| 523-153 | 2″ – 3″ | 920g | ||
| 523-154 | 3″ – 4″ | 1050g |
* Measured at the position where the anvil is retracted by 1mm from the free position without installing the indicator.
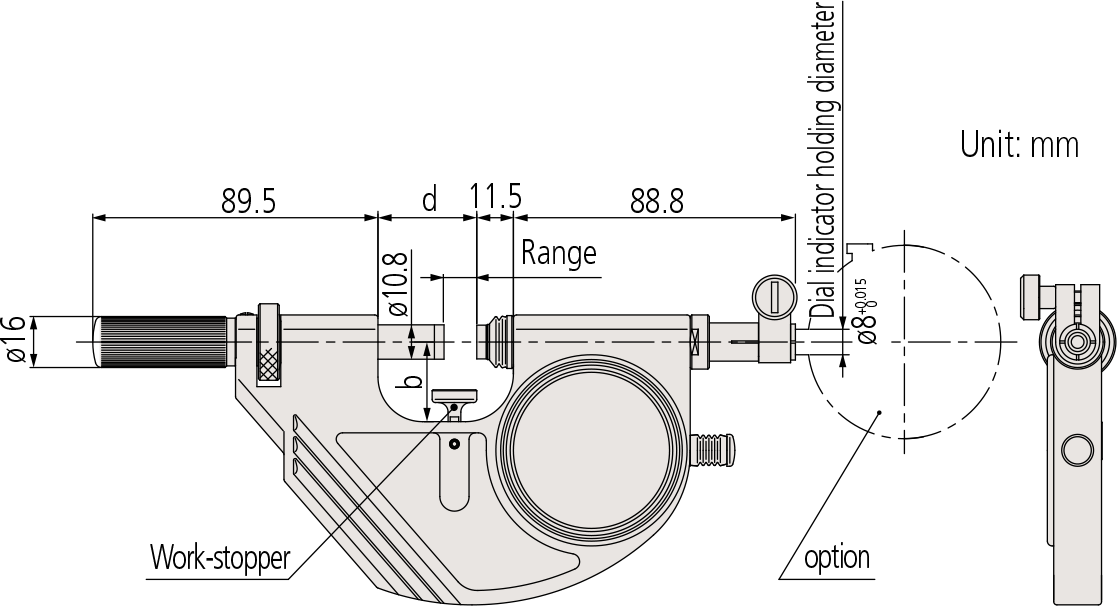
DIMENSIONS
| Range | b | d |
|---|---|---|
| 0 – 25mm | 25 | 31 |
| 25 – 50mm | 35 | 56 |
| 50 – 75mm | 47 | 81 |
| 75 – 100mm | 60 | 106 |
Accuracy
Flatness: 0.3µm/.000012″
Parallelism: 0.6µm/.000024″ for models up to 50mm/2″
1µm/.00004″ for models over 50mm/2″
Repeatability of indication: 0.4µm/.00002″
Typical Indicators used with gage
ID-C (0.001mm)/ 543-3908
LGF-L (0.0001mm)/ 542-181 & Counter 542-015
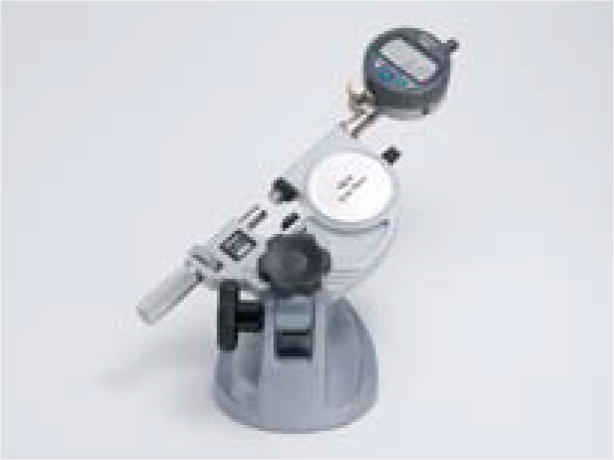
ABS Digimatic Indicator
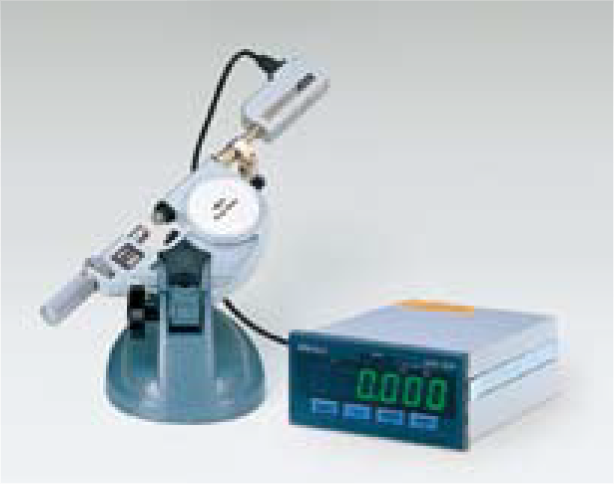
Linear Gage and counter
- Suited to the measurement of massproduced parts.
- Various types of indicator can be selected according to the measurement application.
- Measuring faces: Carbide

