Call Us: +91-7410524141
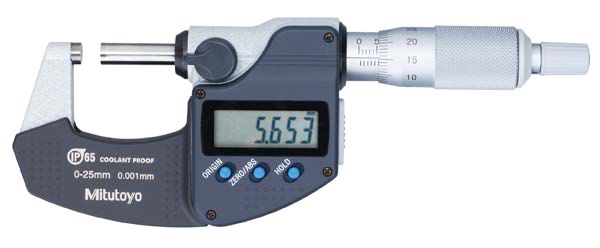
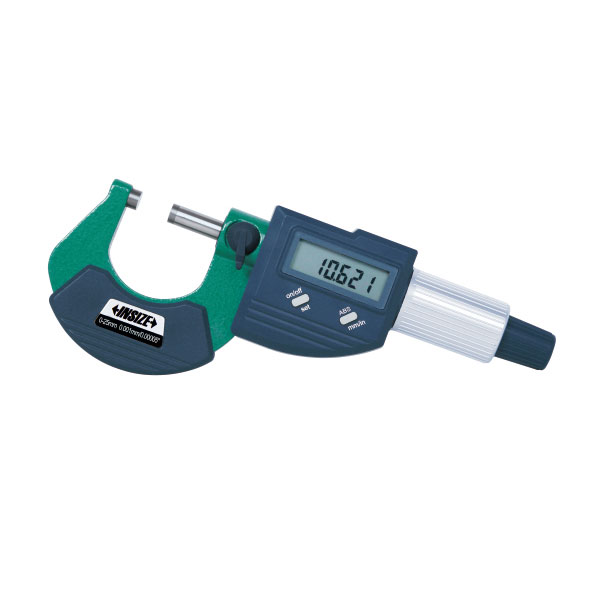
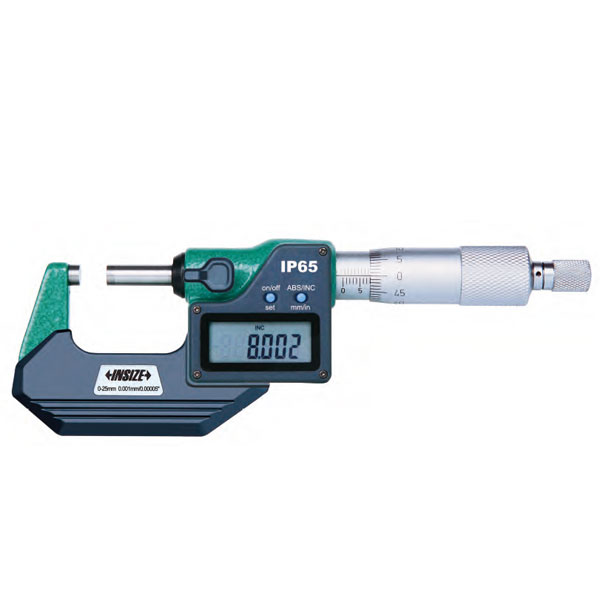
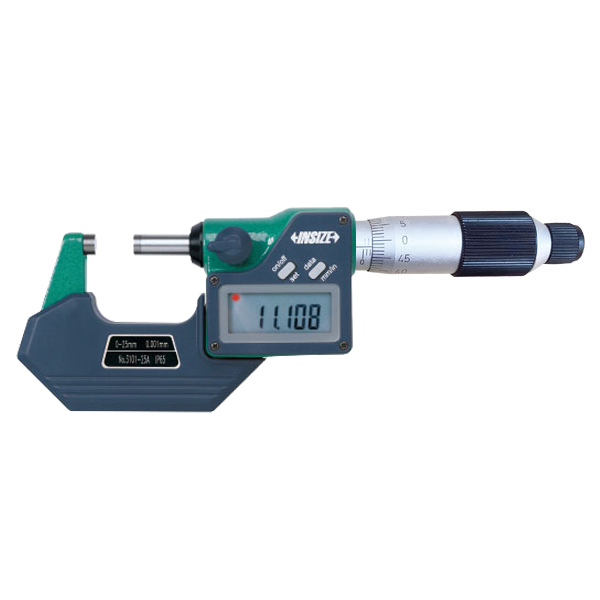
MITUTOYO SERIES 293 COOLANT PROOF DIGIMATIC MICROMETER IP65 (0-100MM)
- Accurate and highly environmentally resistant, assisting with many types of measurements
- Ratchet thimble provides better operability for one-handed operation.
- Oil-resistant material used for all plastic parts.
- Models equipped with a Digimatic output port can form part of a statistical process control or networked measurement system.
Metric
| Code No. | Range (mm) | Resolution (mm) | Measuring force*1 (N) | Measuring permissible error JMPE (μm) | Parallelism (μm) | Flatness (μm) | Constand measuring force | Mass (g) |
|---|---|---|---|---|---|---|---|---|
| With SPC data output | ||||||||
| 293-230-30 | 0 – 25 | 0.001 | 5 – 10 | ±1 | 1 | 0.3 | with ratchet stop | 270 |
| 293-231-30 | 25 – 50 | 330 | ||||||
| 293-232-30 | 50 – 75 | ±2 | 2 | 470 | ||||
| 293-233-30 | 75 – 100 | 625 | ||||||
| 293-234-30 | 0 – 25 | 7 – 12 | ±1 | 1 | with ratchet thimble | 280 | ||
| 293-235-30 | 25 – 50 | 340 | ||||||
| 293-236-30 | 50 – 75 | ±2 | 2 | 480 | ||||
| 293-237-30 | 75 – 100 | 635 | ||||||
| Without SPC data output | ||||||||
| 293-240-30 | 0 – 25 | 0.001 | 5 – 10 | ±1 | 1 | 0.3 | with ratchet stop | 270 |
| 293-241-30 | 25 – 50 | 330 | ||||||
| 293-242-30 | 50 – 75 | ±2 | 2 | 470 | ||||
| 293-243-30 | 75 – 100 | 625 | ||||||
| 293-244-30 | 0 – 25 | 7 – 12 | ±1 | 1 | with ratchet thimble | 280 | ||
| 293-245-30 | 25 – 50 | 340 | ||||||
| 293-246-30 | 50 – 75 | ±2 | 2 | 480 | ||||
| 293-247-30 | 75 – 100 | 635 | ||||||
Inch/Metric
| Code No. | Range (mm) | Resolution (mm) | Measuring force*1 (N) | Measuring permissible error JMPE (μm) | Parallelism (μm) | Flatness (μm) | Constand measuring force | Mass (g) |
|---|---|---|---|---|---|---|---|---|
| With SPC data output | ||||||||
| 293-330-30 | 0 – 1 | 0.0005 in / 0.001mm | 5 – 10 | ±0.00005 | 0.00004 | 0.000012 | with ratchet stop | 270 |
| 293-331-30 | 1 – 2 | 330 | ||||||
| 293-332-30 | 2 – 3 | ±0.0001 | 0.00008 | 470 | ||||
| 293-333-30 | 3 – 4 | 625 | ||||||
| 293-334-30 | 0 – 1 | 7 – 12 | ±0.00005 | 0.00004 | with ratchet thimble | 280 | ||
| 293-335-30 | 5 – 10 | with friction thimble | 275 | |||||
| 293-336-30 | 1 – 2 | 335 | ||||||
| Without SPC data output | ||||||||
| 293-340-30 | 0 -1 | 0.0005 in / 0.001 mm | 5 – 10 | ±0.00005 | 0.00004 | 0.000012 | with ratchet stop | 270 |
| 293-341-30 | 1 -2 | 330 | ||||||
| 293-342-30 | 2 – 3 | ±0.0001 | 0.00008 | 470 | ||||
| 293-343-30 | 3 – 4 | 625 | ||||||
| 293-344-30 | 0 -1 | 7 -12 | ±0.00005 | 0.00004 | with ratchet thimble | 280 | ||
| 293-345-30 | 1 -2 | 340 | ||||||
| 293-346-30 | 2 – 3 | ±0.0001 | 0.00008 | 480 | ||||
| 293-347-30 | 3 – 4 | 635 | ||||||
| 293-348-30 | 0 – 1 | 0.0001 in / 0.001 mm | 5 – 10 | ±0.00005 | 0.00004 | with friction thimble | 275 | |
| 293-349-30 | 7 -12 | ±0.0001 | with ratchet thimble | 280 | ||||
- Dust/water protection level: (P65 EC60529)*2
- Power source. SR44 baltry (1 pc.), 938882 induded as standard (for operational checks)
- Batterv fife: Approx. 2.4 years under normal use.
- Position detection method: Electromagnetic rotary sensor.
- Standard acessonies: Ssettng standard, 1 pc (except for 0 to25 mm (0 to 1in) models) Spanner (301336), 1 pc.
- 1 measuring force when using the speeder ratchet Apliy ameasuring force in the same condition as for measurement and then set the origin.)
- 2 Rustproofing shallbe applied after use.
Note Al dgits of odes over 125 mm (5 in mesuring range are presetable.
Functions
- Origin point setting (ABS measurement system): Resets the ABS origin at the current spindle position to the minimum value of the measuring range and switches to ABS mode.
- Zero-setting: A brief press on the ZERO/ABS button sets display to zero at the current spindle position and switches to the incremental (INC) measuring mode. A longer press reset to the ABS measuring mode.
- Hold: The function that holds the display of value is useful when it is difficult to see the measured value at the measurement point. When the function is cancelled. the previous zero-set point or a measured value with reference to the origin is displayed.
- Data output: Models equipped with this function have an output por for transferring measurement data to a Statistical Process
Control (SPC) system.
* Only models with the data output function - Auto power ON/OFF : The reading on the LCD disappears after this instrument is idle for about 20 minutes, but the reading and measurement mode are retained. Turning the spindle causes the reading to reappear.
- Error display: In case of an overflow on the LCD or a computing error, an error message appears on the LCD, and the measuing function stops. This prevents an instrument from givinge erroneous reading. Also, when the battery voltage drops to a certain level, the low-battery-voltage alarm indicator appears well before the micrometer becomes unusable
- Function lock: This function allows the ORIGIN (origin point setting) function and the ZERO (zero-setting) function to be locked to prevent these points being reset accidentally.


